Gameplay
Final Fantasy Resonance Tier List: Best Party Picks
Choose the best Visions for your Final Fantasy Resonance party with role comparisons, key mastery rewards, early priorities, and swaps for bosses.
Updated
- Guides
- 36
- Topics
- 3
- On this page
- 5
Which Visions should you prioritize?
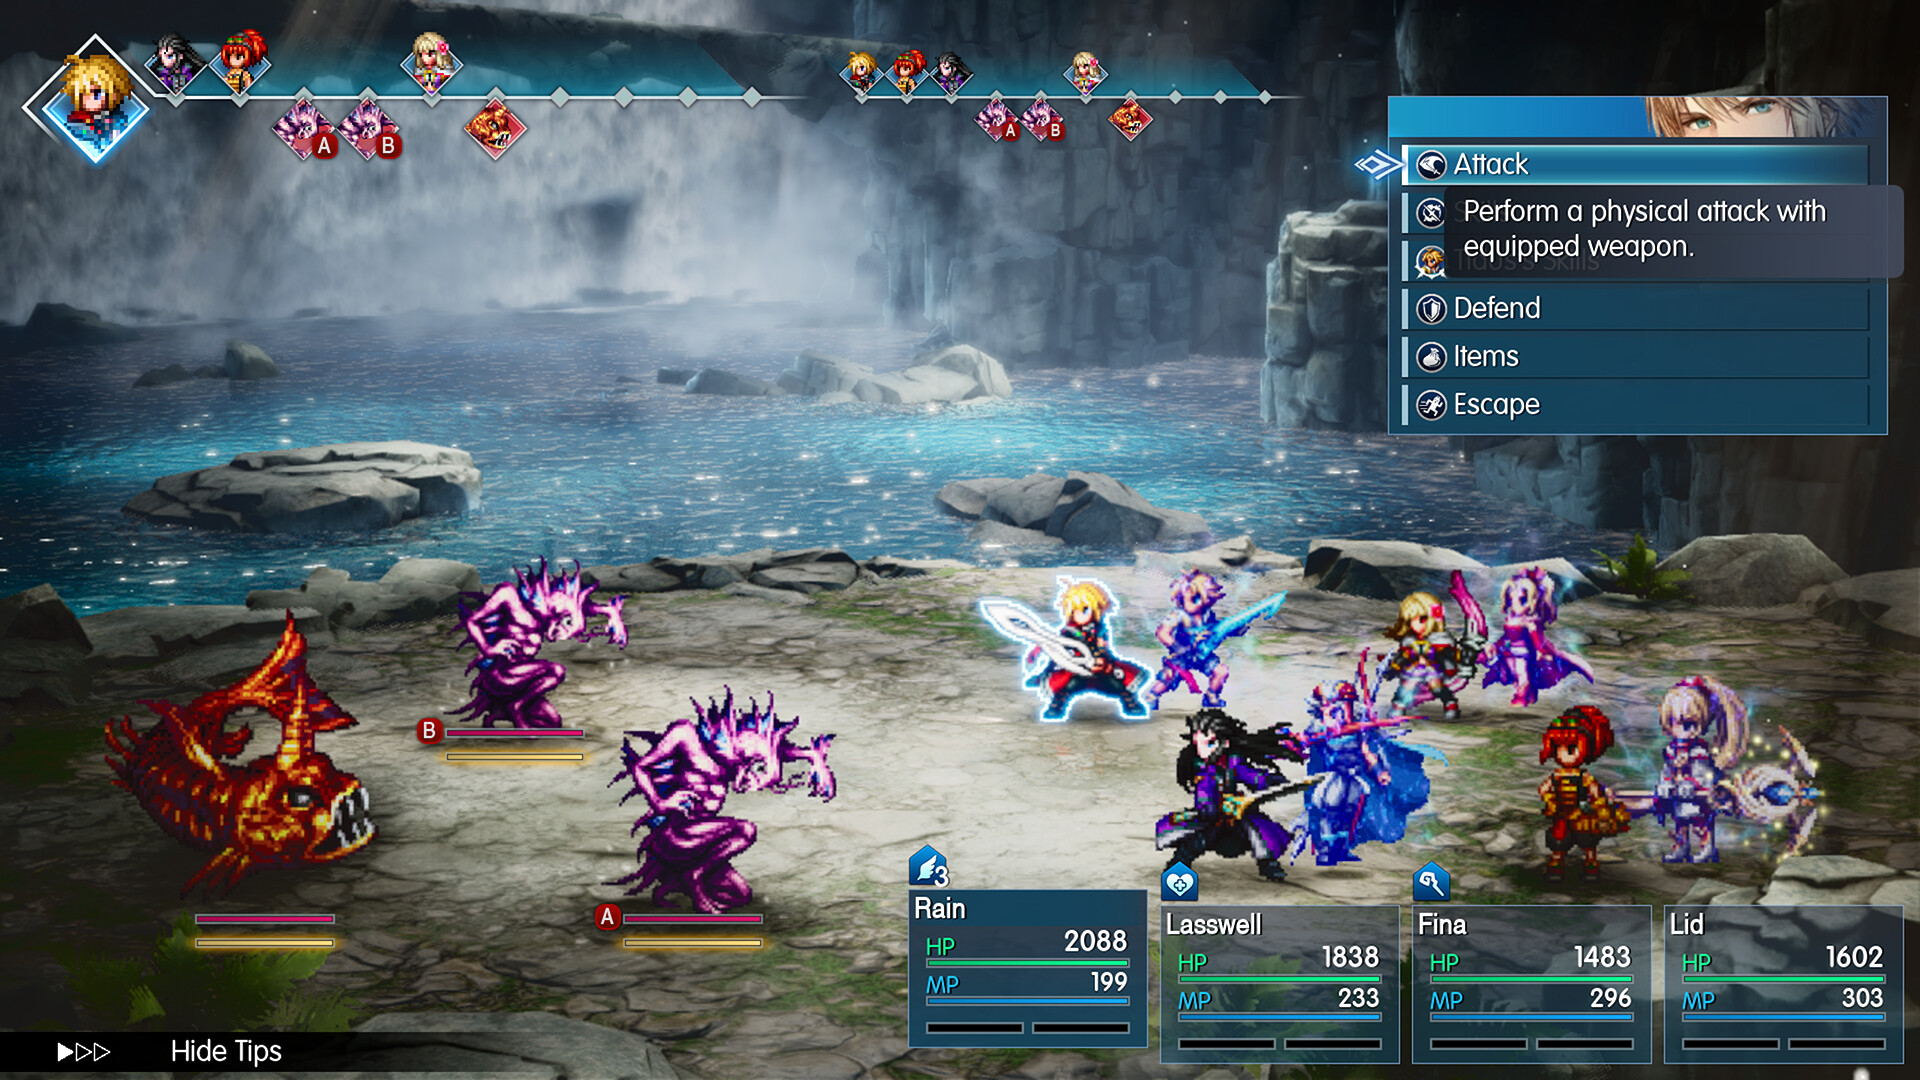
Prioritize Tron, Warrior of Light, and Terra early, then Firion for extra actions and Squall or Shantotto for your preferred attacks. Keep Leah available for healing, and move elemental specialists ahead whenever they answer a boss's attacks or weaknesses.
Treat the core picks below as mastery priorities as well as equipped choices. Learned mastery bonuses can be equipped through AP without keeping their original Vision equipped. Build toward combinations that help your current party, rather than trying to finish every recommendation immediately.
Vision priorities by role and matchup
| Vision | Priority and purpose | Key benefit | How to get it or when to use it |
|---|---|---|---|
| Tron | Core: MP economy | Half MP Cost at MR9 halves MP costs across spells, attacks, abilities, and buffs. | Unlock alongside Leah at the Vision crystal in Mitra after the opening dungeon.Playing this video connects to YouTube. |
| Warrior of Light | Core: sentinel | Multi-Cover protects the party; Grit lets the user survive lethal damage with 1 HP once per battle. | Available in the demo; especially useful when Rain protects allies. |
| Terra | Core: commando and damage cap | Fire, Ice, and Water coverage; Break the Limit raises the damage cap from 9,999 to 99,999. | Available in the demo; prioritize her cap upgrade when damage reaches the existing limit. |
| Firion | Core: extra actions | Arms Akimbo enables two actions in a turn; Blade Blitz provides a group attack costing no MP. | Acquire in Chapter 3; develop him on attackers and support characters.Playing this video connects to YouTube. |
| Squall | Core: attack skills | Improvement builds damage and stagger up to 50%; Trigger strengthens standard attacks and battle skills; Double Action unlocks at MR9. | Acquire in Chapter 3; favor characters who regularly use his supported attack types.Playing this video connects to YouTube. |
| Shantotto | Core: spellcasting | Dual Cast repeats black or white magic; Area Effect Adept removes damage penalties when casting across multiple targets. | Acquire in Chapter 4; pair with Sakura for group damage.Playing this video connects to YouTube. |
| Onion Knight | Role pick: Limit Breaks | Triples Limit Break gauge fill; Observe and Recover HP adds recovery while setting up actions. | Acquire in Chapter 2; prioritize when Limit Break availability matters to your strategy.Playing this video connects to YouTube. |
| Leah | Role pick: early medic | Healing and cleansing improve safety; Pass the Torch transfers a turn to another party member. | Available in the demo; useful on Fina or as healing support for Nichol. |
| Ayaka | Role pick: later medic | Stronger healing, revival to full health, healing over time, and longer buffs when paired with Nichol. | Unlock through a Chapter 7 quest; consider replacing Leah for dedicated healing. |
| Cloud | Role pick: breaker and criticals | Thunder/Water Surge, Braver, stagger support, and critical bonuses; also nullifies lightning. | Available in the demo; take the detour to his Sanctum rather than following only story objectives.Playing this video connects to YouTube. |
| Bartz | Role pick: elemental breaker | Expands Lasswell's elemental coverage and halves wind damage. | Choose when Lasswell needs different elements or wind protection. |
| Zidane | Role pick: saboteur and stealing | Steal collects enemy items; Mug supplies a single-target battle skill costing no MP. | Available from Chapter 2; prioritize stealing when enemy loot interests you. |
| Tidus | Role pick: physical stagger and buffs | First Strike improves openers; Reckless Abandonment doubles physical stagger; Tip-Top Shape scales physical damage with buffs. | Favor with Nichol's buffs or when water absorption answers the encounter. |
| Noctis | Specialist: guaranteed hits | Barrage delivers four guaranteed hits; against groups, its targets are random. | Barrage is an MR9 target; favor evasive enemies or a lone boss. |
| Victoria | Progression: mastery farming | Her MR7 reward increases MRP gains by 50%, helping develop additional Visions. | Meet her in Mysidia and complete her eventual side quest.Playing this video connects to YouTube. |
| Sephiroth | Later core: offense | Guaranteed Limit Burst and Resonance criticals; Legendary Soldier uses the user's higher attack and defensive stats. | Requires Chapter 5 airship access and victory against him in his Vision cave.Playing this video connects to YouTube. |
| Cecil | Matchup: sentinel and elements | Nullifies dark damage and halves earth damage. | Choose when those elements threaten your defensive setup. |
| Wilhelm | Role pick: later sentinel | Expands the later defensive Vision options. | Consider when filling a defensive role in the party. |
| Amelia | Role pick: later saboteur | Provides a later saboteur alternative to Zidane. | Available in Chapter 6. |
| Lightning | Matchup: lightning defense | Absorbs lightning damage. | Choose when lightning attacks are the main threat. |
| Clive | Matchup: fire and physical defense | Absorbs fire; Mirage provides protection against physical attacks. | Consider for fire damage or dangerous physical attacks. |
| Charlotte | Matchup: ice defense | Absorbs ice damage. | Choose when ice attacks threaten the party's survival. |
Turn the priorities into a working party
Demo priorities versus full-game rewards
The demo roster contains Tron, Leah, Warrior of Light, Terra, and Cloud. Demo Vision mastery stops at rank 5, so MR9 rewards such as Half MP Cost and Break the Limit are full-game goals. Focus on available rewards instead of repeating demo battles toward an unreachable mastery target.
When to change the ranking
Against bosses, prioritize an exploitable weakness over a general tier placement. Match the Vision's attacks to the user's strengths, because elemental attacks can be physical or magical. Terra is an alternative to Shantotto on Sakura when her elemental coverage fits the fight better.
On Expert or demanding boss attempts, preserve healing, defensive buffs, and status protection. Nichol can combine formations with healing through Leah early or Ayaka later, while his buffs make Tidus's Tip-Top Shape attractive on physical attackers. Favor survival upgrades when your damage setup keeps collapsing.
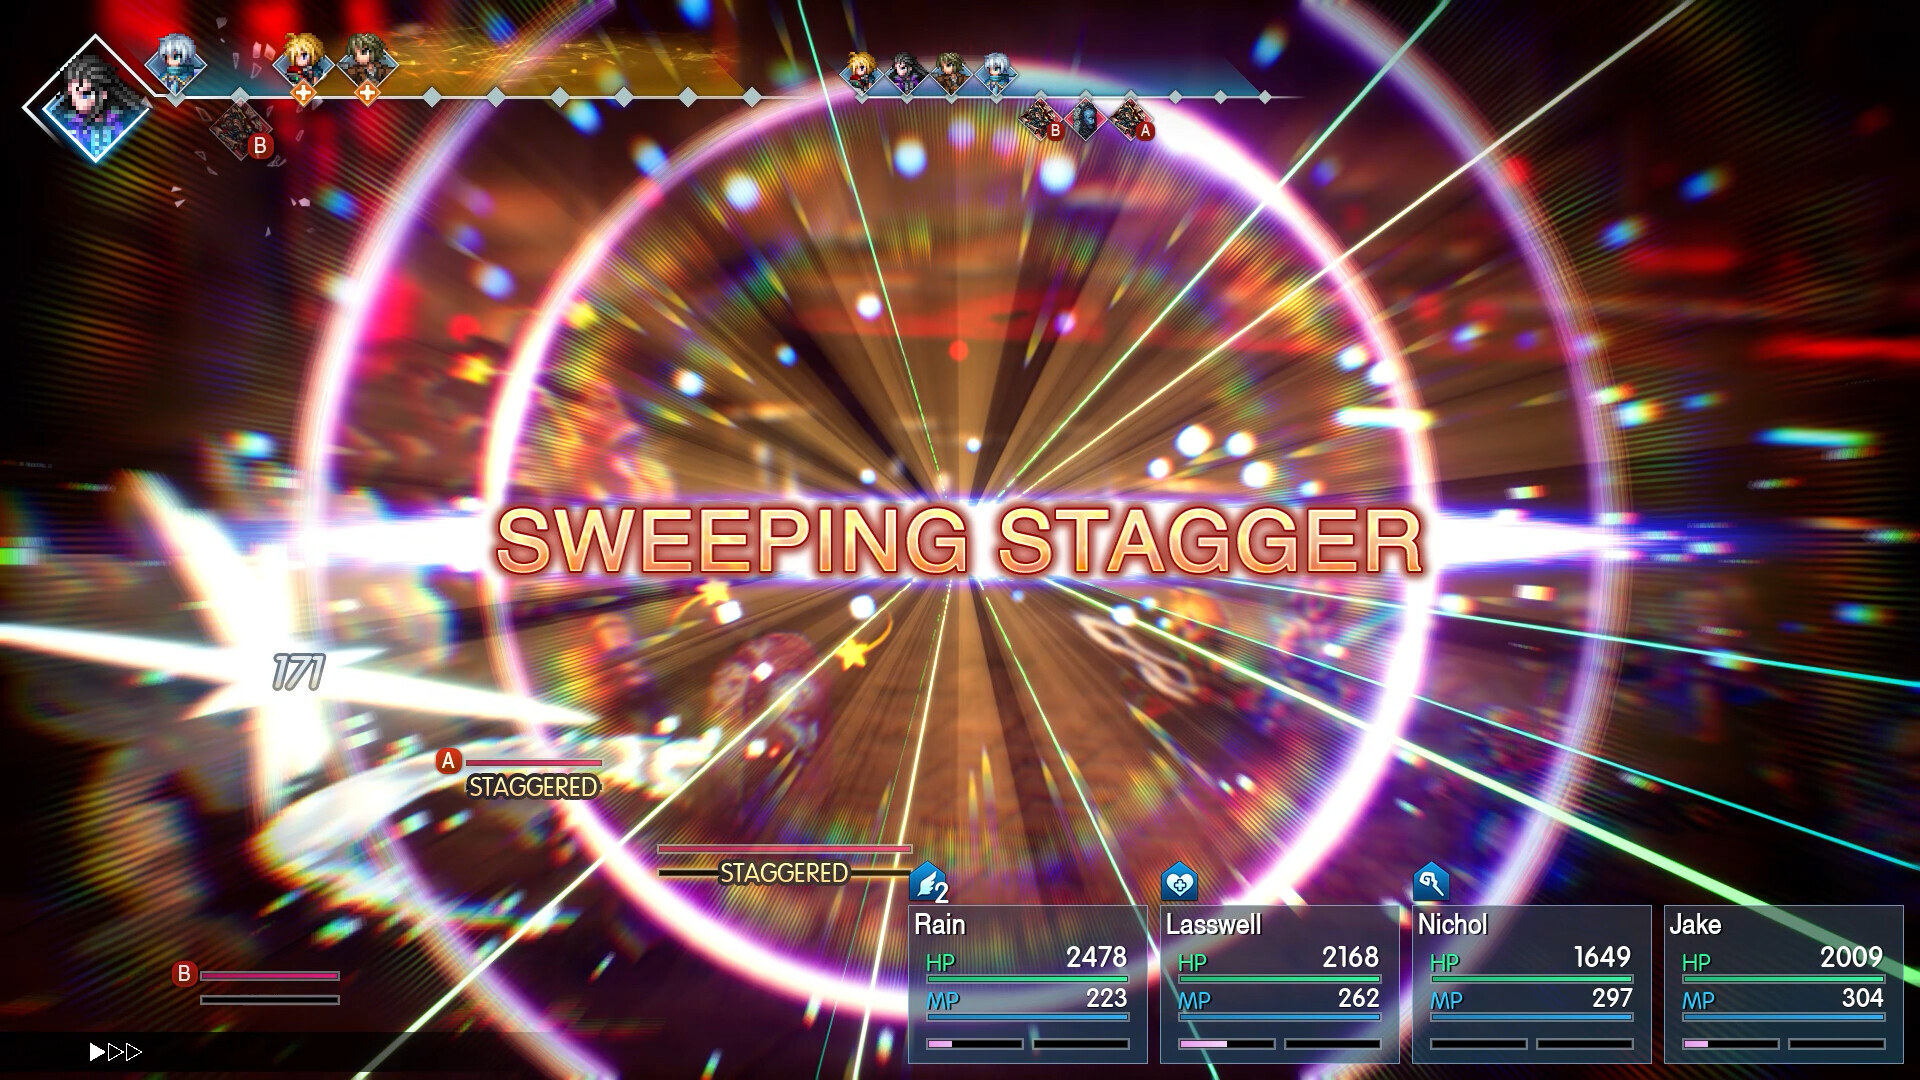
For routine fights, favor broad attacks and inexpensive stagger rather than a long setup. Blade Blitz benefits from Squall's battle skill bonuses, but switch to damage once the target is staggered. Break the Limit deserves priority when you reach the damage cap; raising that cap does not increase damage by itself.